
How to setup and position basic controls in a Mac OS X app window using RubyMotion Dec 17 2014
We’ve focused a lot in past articles on menu bar apps, but of course it’s quite likely that if you’re building an OS X app, you’ll want to have an actual application window to expose further functionality, unless you can fit what your app does neatly into a customised status bar menu.
The code for this tutorial is in this repo, which will also contain code for future windowed Mac OS X UI tutorials. The full code for this particular app is in this branch, and throughout the article there will be code links to specific tags which allow you to jump in at a specific point, or reference it as you run through building the app yourself.
So let’s start with the default OS X template RubyMotion provides - it gives us the setup for a default application window, complete with a menu, which we’ll leave as-is.
motion create --template=osx WindowAndControlsTest
cd WindowAndControlsTest
rake
That’ll give you the basic window seen below.

[code]
Now let’s look at adding a control - a button, in fact. In app/app_delegate.rb, at the bottom of the buildWindow method, add:
@button = NSButton.alloc.initWithFrame([[0, 0], [150, 30]])
@button.title = "a test button"
@mainWindow.contentView.addSubview @button
This is quite straightforward - we’re setting up a button at position [0,0], 150px wide and 30px high, we’re setting the title on it, and we’re adding it to our window view. Running that you can see the button in the bottom-left - on OS X, the root anchor for X and Y positioning (0,0) is bottom left, not top left as it is on iOS.

[code]
Let’s reposition our button so it’s in the middle of the screen. If you’re coming from iOS development, you may be used to fixed screen dimensions, but as you may also be finding out with each new iPhone announced, it’s much better to avoid hard-coding heights and widths of windows into your app, and instead query the information needed to position things accordingly. Amend our button initialisation to look like the following:
size = @mainWindow.frame.size
@button = NSButton.alloc.initWithFrame([[size.width / 2.0, size.height / 2.0], [150, 30]])
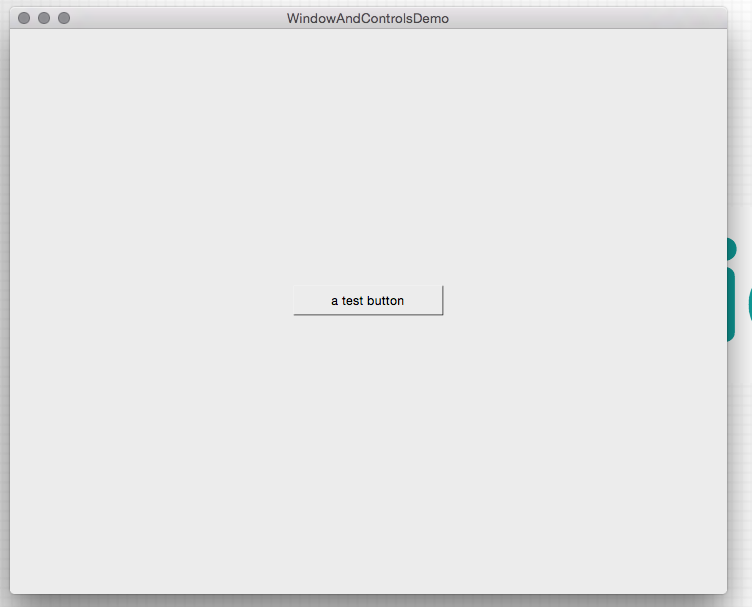
We’re taking our window size, and positioning our button based on half-width and half-height. When we run that, it’s definitely getting warmer, but it’s not quite right. In fact, it’s fairly obvious that the bottom left edge of the button is in the center of the window, but what we really want is the center of the button to be in the center of the window. For that, we need to take half of the button height and half of the button width away from our button position, so that the bottom left of the button accounts for wanting the center in the center of the window. Tweaking our code further gives us this:
size = @mainWindow.frame.size
button_size = [150, 30]
@button = NSButton.alloc.initWithFrame([
  [(size.width / 2.0) - (button_size[0] / 2.0), (size.height / 2.0) - (button_size[1] / 2.0)],
  button_size])
Now when we run things, we can see our button is right in the center of the window.

[code]
However, try resizing the window by grabbing the grab handle in the bottom right, and you’ll see that the button itself is basically still anchored relative to the bottom left, and as the window expands or contracts, it is no longer in the center of the smaller or larger window. This is because we’re just setting this all up once on app launch - let’s try making it so it’s responsive to window changes, to keep our button in the center on resize.
We need to start by handling changes to the window size, so our first change is to set the app delegate as the delegate also for the main window, so we can implement a listener for the resize method we need. First of all, find our initialisation for @mainWindow, and add the delegate line below what’s already there:
@mainWindow.delegate = self
Now, we can add a method that’ll update the button position based on the window size, basically the same as we were doing on initialization but abstracted out to its own method, and we’ll also add a method to handle the resize event and call our new button positioning method:
def windowDidResize(notification)
  self.set_button_frame
end

def set_button_frame
  size = @mainWindow.frame.size
  button_size = [150, 30]
  @button.frame = [
    [(size.width / 2.0) - (button_size[0] / 2.0), (size.height / 2.0) - (button_size[1] / 2.0)],
    button_size]
end
Of course, we can remove the duplicate button frame code, as we no longer need to set it specifically in the setup, we can just call set_button_frame there too!
@button = NSButton.alloc.initWithFrame(CGRectZero)
self.set_button_frame
@button.title = "a test button"
Now if you run the app, then using the grab handle resize the window, you’ll see the button is stuck right in the center there. Neat!
[code]
So let’s do one more thing now on our basic window tutorial, and handle some interactivity - it’d be good if our button actually did something! Let’s track how many times it is clicked, and show that beneath the button.
First of all, let’s add a new control, a label, above our button creation in buildWindow. This gives us chance to explore the fact that there actually is no label control in Cocoa - so instead we’re going to use a text field:
@label = NSTextField.alloc.initWithFrame(CGRectZero)
@label.bezeled = false
@label.drawsBackground = false
@label.editable = false
@label.selectable = false
@mainWindow.contentView.addSubview @label
We’re removing the bezeling, not drawing the background, and making sure it’s not editable or selectable - and voila, we have a label. Next up, we want to make sure the label frame is set to just below the button frame anytime the button frame changes - so we’ll add this to the bottom of set_button_frame:
@label.frame = [
  [(size.width / 2.0) - (button_size[0] / 2.0), (size.height / 2.0) - (button_size[1] / 2.0) - (button_size[1])],
  button_size]
This is the same as the main button, but set one button height lower, so it’s beneath.
Next, we need to setup the button click handler:
@button.target = self
@button.action = 'button_pressed:'
By setting the button target to self, and setting the action, we’re pointing to the method that will be triggered by a click - we now need to implement that method:
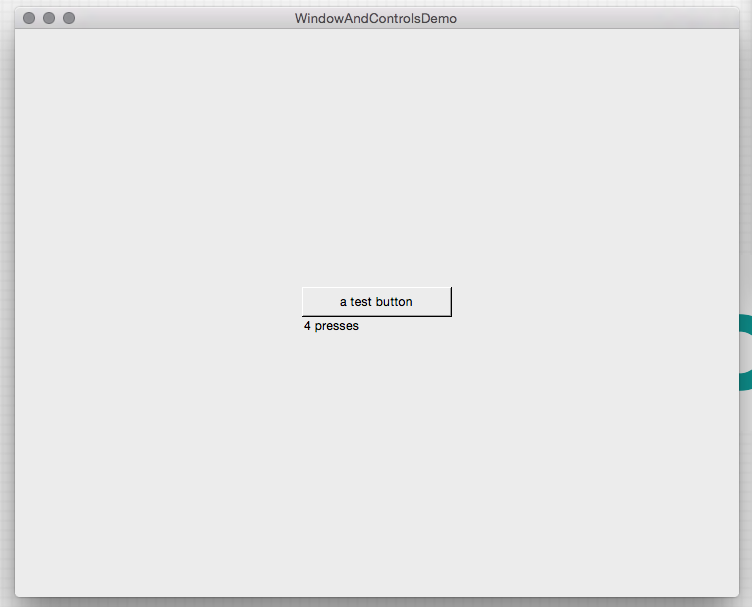
def button_pressed(sender)
  @taps ||= 0
  @taps += 1

  @label.stringValue = "#{@taps} presses"
end
Here we’re initializing the taps variable if it doesn’t already exist (i.e. on first click), then incrementing it, and setting the label text based on the count. Now our functionality will work like this:
[code]
So, we’ve covered initializing and laying out basic controls, and establishing some very basic interactivity in our window - it’s good to know how to layout simple user interface by hand, but in the next article we’ll look at using motion-kit, which is an awesome lib for constructing user interfaces more quickly, and works really nicely as you start to build your app up.
technical • rubymotion • code • kickcode